Table of Contents
You spent six months’ savings and flew for over ten hours to finally arrive at that dreamlike Indonesian island. The waves were perfect, two meters high, with hollow yet powerful corrugations. You excitedly rushed into the sea, catching the first wave, but were a little careless at the end, and your board lightly scraped against the coral reef above the water.
When you surface and run your fingers along the edge of the surfboard, your heart sinks—there’s a crack the size of a fingernail, and white foam is exposed in the seawater.
At home, this is nothing. You’d send it to a spruce repair shop, wait a week, and pay a few dollars. But on a deserted island? Every minute of waiting is a waste of your expensive plane ticket and this once-in-a-lifetime good weather. The spruce repair shop is hundreds of kilometers away in Bali, and traditional resin curing takes overnight.
surfboard in three minutes in wilderness survival mode.

Why traditional repairs can ruin your trip
Our usual board repair process is sanding, mixing resin and hardener, filling, covering with fiberglass cloth, waiting for curing (several hours), and then sanding again. It’s an art, but its greatest enemy is time.
On a surf trip, time is everything. Traditional polyester resins or epoxy resins require a precise catalyst ratio (MEKP or hardener) to initiate the chemical reaction. Too low a temperature and they won’t dry; too high and they’ll polymerize excessively; the wrong ratio and they’ll remain sticky forever. Worse still, they typically take several hours to fully harden to a water-safe state.
If you break your board at 10 AM, using traditional methods, it means your session for today is over, and you might not even be able to go swimming tomorrow morning. For a ronin with only 5 days of vacation, this is an unacceptable loss.
That’s why you need an emergency surfboard repair kit, and its core must be “UV-Cure Resin.”
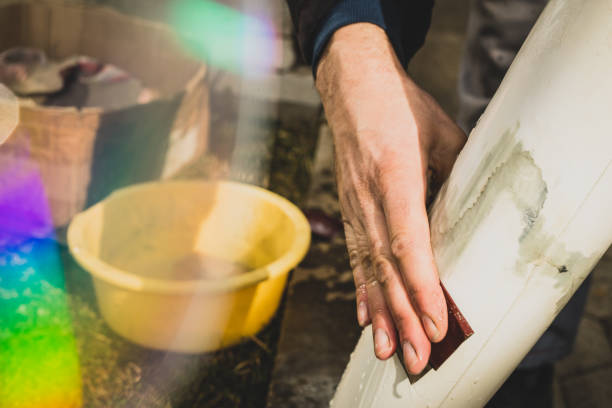
Ultraviolet Magic: Not Science Fiction
When you first see this gel-like substance harden instantly in sunlight, you might think it’s black magic. But the principle is actually quite simple.
Ordinary resins rely on chemical catalysts to generate heat for curing. Sun-cured resins (most notably Solarez) contain photoinitiators. These molecules are activated upon contact with ultraviolet (UV) light, triggering a chain reaction of cross-linking.
What does that mean?
Unlimited working time: This resin will never dry as long as you are in the shade. You can slowly and methodically spread it evenly, squeeze out air bubbles, and adjust the shape until it is perfect.
seconds and isInstant curing time : Once you feel it’s perfect, take the board out of the shade and expose it to direct sunlight. The surface cures in 30 seconds, fully hardened in 3 minutes.
This “controllability” is a game-changer for wilderness restoration. It allows you to fix surfboard dings fast without needing to be a chemist.
Battlefield First Aid Guide: Returning to the Crest of the Wave in Three Minutes
Now, let’s get to the practical part. Let’s say you’ve just climbed out of the water, and your board is still dripping. How do you ensure the repairs won’t break apart in the next wave? Here’s a survival guide on how to use Solarez on a surfboard.
Step 1: Drying is more important than anything else (Dry It Out)
This is where most people fail. The foam core of a surfboard (whether PU or EPS) is like a sponge. If there is still salt water inside the crack, the resin will not stick properly, and the moisture trapped inside will expand when heated, causing delamination.
Actions: Suck out the water from the crack with your mouth (it tastes salty, but it works), or press repeatedly with a paper towel. If you are in the tropics, place the board crack-side down on a hot sandy surface for a few minutes. Make sure it is completely dry.
Step Two: The Shade Work
Find a tree or an umbrella, or have a friend stand in front of you to block the sun. This step must be done in the shade. Even a little bit of diffused sunlight will cause the resin to harden as you apply it, turning it into an unsightly lump of gel.
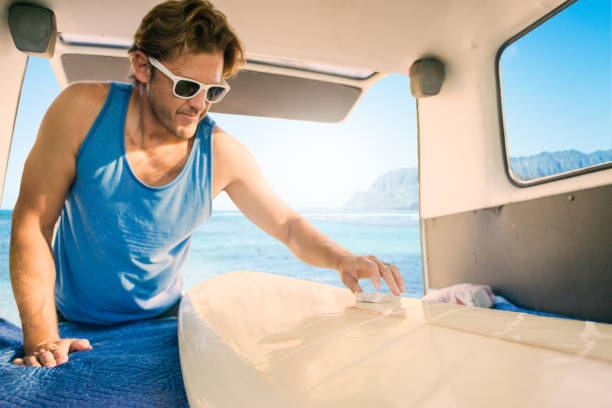
Actions: Slightly sand the area around the crack (if you don’t have sandpaper, gently rub it with a rough stone to increase adhesion). Squeeze out an appropriate amount of sun-cured resin and fill the crack.
Tip: Apply a piece of clear plastic film (usually found in repair kits; if not, cling film or even the transparent part of a snack bag will do). Use your finger to smooth the resin through the film, squeezing out any air bubbles. This film will block oxygen, ensuring the resin surface fully cures and doesn’t become sticky.
Step 3: The Sun Cure
Take a deep breath, pick up the board, and step out of the shadows to face the sun directly.
Action: Hold still. Under strong tropical sunlight, you will see the resin begin to heat up and harden within 15-30 seconds. Hold for 3 minutes. Remove the plastic film.
Result: You will have a repaired surface that is as hard as stone and as smooth as a mirror. If your skills are good enough, you may not even need further polishing.
The deadly details no one tells you
Although it sounds simple, in thousands of board repair experiences, I’ve found that beginners are most likely to make mistakes in the following areas:
Beware of the tragedy of “plate melting.”
This is extremely important. A surfboard is mainly made of two types of foam: PU (polyurethane) and EPS (polystyrene).
Traditional Solarez is typically polyester-based. If you apply it to EPS (exposure propellant) foam (which is usually epoxy board), it will corrode the foam like alien blood, turning a small hole into a large pit.
,Solution : Purchase UV-cured resin labeled “Epoxy” or “Safe for all boards.” Epoxy resin can repair PU boards, but PU resin should never be used to repair EPS boards. For safety, only bring the epoxy version of UV resin when traveling , as it works on all types of boards.
Don’t be greedy.
5 mm),Do not attempt to fill deep holes in one go. UV resin requires UV light to penetrate and cure. If you fill it too thickly (more than 5mm), the surface will harden while the deeper layers remain liquid. When you surf, the internal liquid resin will flow out, causing the repair to fail.
:Solution : If it’s a deep pit, fill it in layers. Fill one layer, let it sit in the sun for 2 minutes, then fill another layer.
Don’t let OCD ruin your session
We need to be clear on one point: this kind of repair is for “functionality,” not “aesthetics.”
Boards repaired with sun-cured resin might look a bit like scars, might not be as smooth as those done by professional board repairers, and might even be a little yellowed. But so what?
new butAt that moment, your goal isn’t to make your surfboard look brand new, but to safely get back into your line and catch your own wave in that golden hour before sunset.
surfer. That ugly, hard resin scar is your badge of honor as a hardcore Surfer. It proves you weren’t defeated by the unexpected, that you chose to keep fighting. So, always keep a tube of UV resin in your skateboard bag; it’ll save your vacation in a pinch more than a spare leash.
FAQ
1. What else should be included in an emergency surfboard repair kit besides resin?
include severalBesides the core sun-cured resin (Solarez or a similar brand), a proper first-aid kit should also include: several sheets of sandpaper with different grits (60 grit for rough sanding, 220 grit for fine sanding), alcohol wipes (for cleaning and degreasing), a small piece of clear plastic sheet (to cover the resin and isolate it from oxygen), and a small pair of scissors or a blade (for removing any protruding fiberglass splinters). If you are going to a remote area, it is also wise to bring a small spare piece of fiberglass cloth.
How to use Solarez on a surfboard on a cloudy day when there is no sunlight?
Although it’s called a “sun-curing” resin, it’s actually sensitive to ultraviolet (UV) light. Even on cloudy days, the UV rays penetrating through the clouds are enough to cure it, although the time will increase from 3 minutes to 10-15 minutes. If you urgently need a cure indoors or at night, using a specialized UV flashlight (the kind usually used in nail salons) for 3-5 minutes will achieve the same curing effect.
3. UV resin can fix surfboard fastenings, but can it last forever?
In theory, if handled properly (thorough drying, sufficient sanding, and complete curing), UV resin repairs are permanent and highly strong. However, because it is a one-component resin, its long-term resistance to yellowing and flexibility may not be as good as the two-component resins used by professional panel repair shops. For large fractures or structural damage involving the fin box, it is recommended to treat it as a temporary emergency and seek professional repair for a thorough fix upon returning home.
Related Posts
Three Early, Hidden Signs of Waterlogging on a Surfboard
-
Posted by
 Quinn Habakkuk